Now that you have Office 365 at Free or greatly reduced cost, it is time to setup it up in a way to get the most benefit out of it. All don’t need to be done at the same time. Change is hard. Take one at a time and as you and your staff and volunteers become comfortable try taking on the next step.
Firstly, we need to setup users and mailboxes in a way that is managed, appropriately shared and manages continuity.
Adding Users
Each user should get their own login, like firstname.lastname@organization.com. You maybe tempted to create account with the roles that people have such as president@organization.com, or secretary@organization.com since they can then handover the account when they move on. That is not the recommended approach as it removes the auditability, history and is less secure than giving each their own login.
Adding individual users is an easy task in the Office 365 admin center. The steps are detailed clearly in Microsoft’s help Add users individually or in bulk to Office 365 – Admin Help.
When complete it should look something like this:
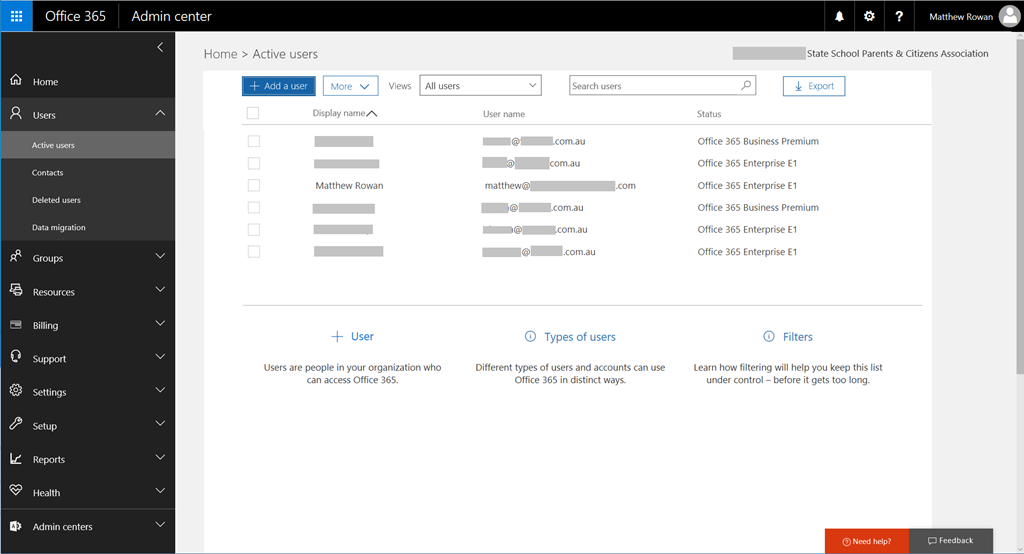
Note the status column indicates the subscription they are assigned. Here we have most on the completely free Office 365 Enterprise E1 Nonprofits pricing subscription giving access to all Office Online (Word, Excel etc. online in the browser) which are assigned to our Executive Committee. Our staff members however, have the Office 365 Business Premium subscription at $2.80/user/month, which gives them all the online tools, and the local familiar install Office application like Word, Excel and PowerPoint on their computers (PC or Mac) and their devices (phones & tablets).
Coming Topics
- Best Practice Email
- Best Practice Online File Storage
- Best Practice Team Communication