Delete a file
Overview
In this guide, you will learn how to delete a single file from a specific folder in your document management system. This is a straightforward process that will help ensure your document organization remains tidy and up-to-date.
Before You Start
Important Considerations:
- Deletion is permanent - make sure you really want to remove the file
- Verify you have appropriate permissions to delete files from the target folder
- Consider creating a backup or moving the file to an archive folder instead of permanent deletion
- Check if anyone else is currently using or referencing the file
Step-by-Step Guide
Step 1: Access Your Committee Documents
- Navigate to the document management system using your committee credentials
- Open the documents page for your active committee
- Wait for the page to load completely and display your folder structure
Step 2: Navigate to the File Location
- Browse through your folder structure to locate the folder containing the file you want to delete
- Click on the target folder to open it and view its contents
- Allow the folder contents to load fully before proceeding
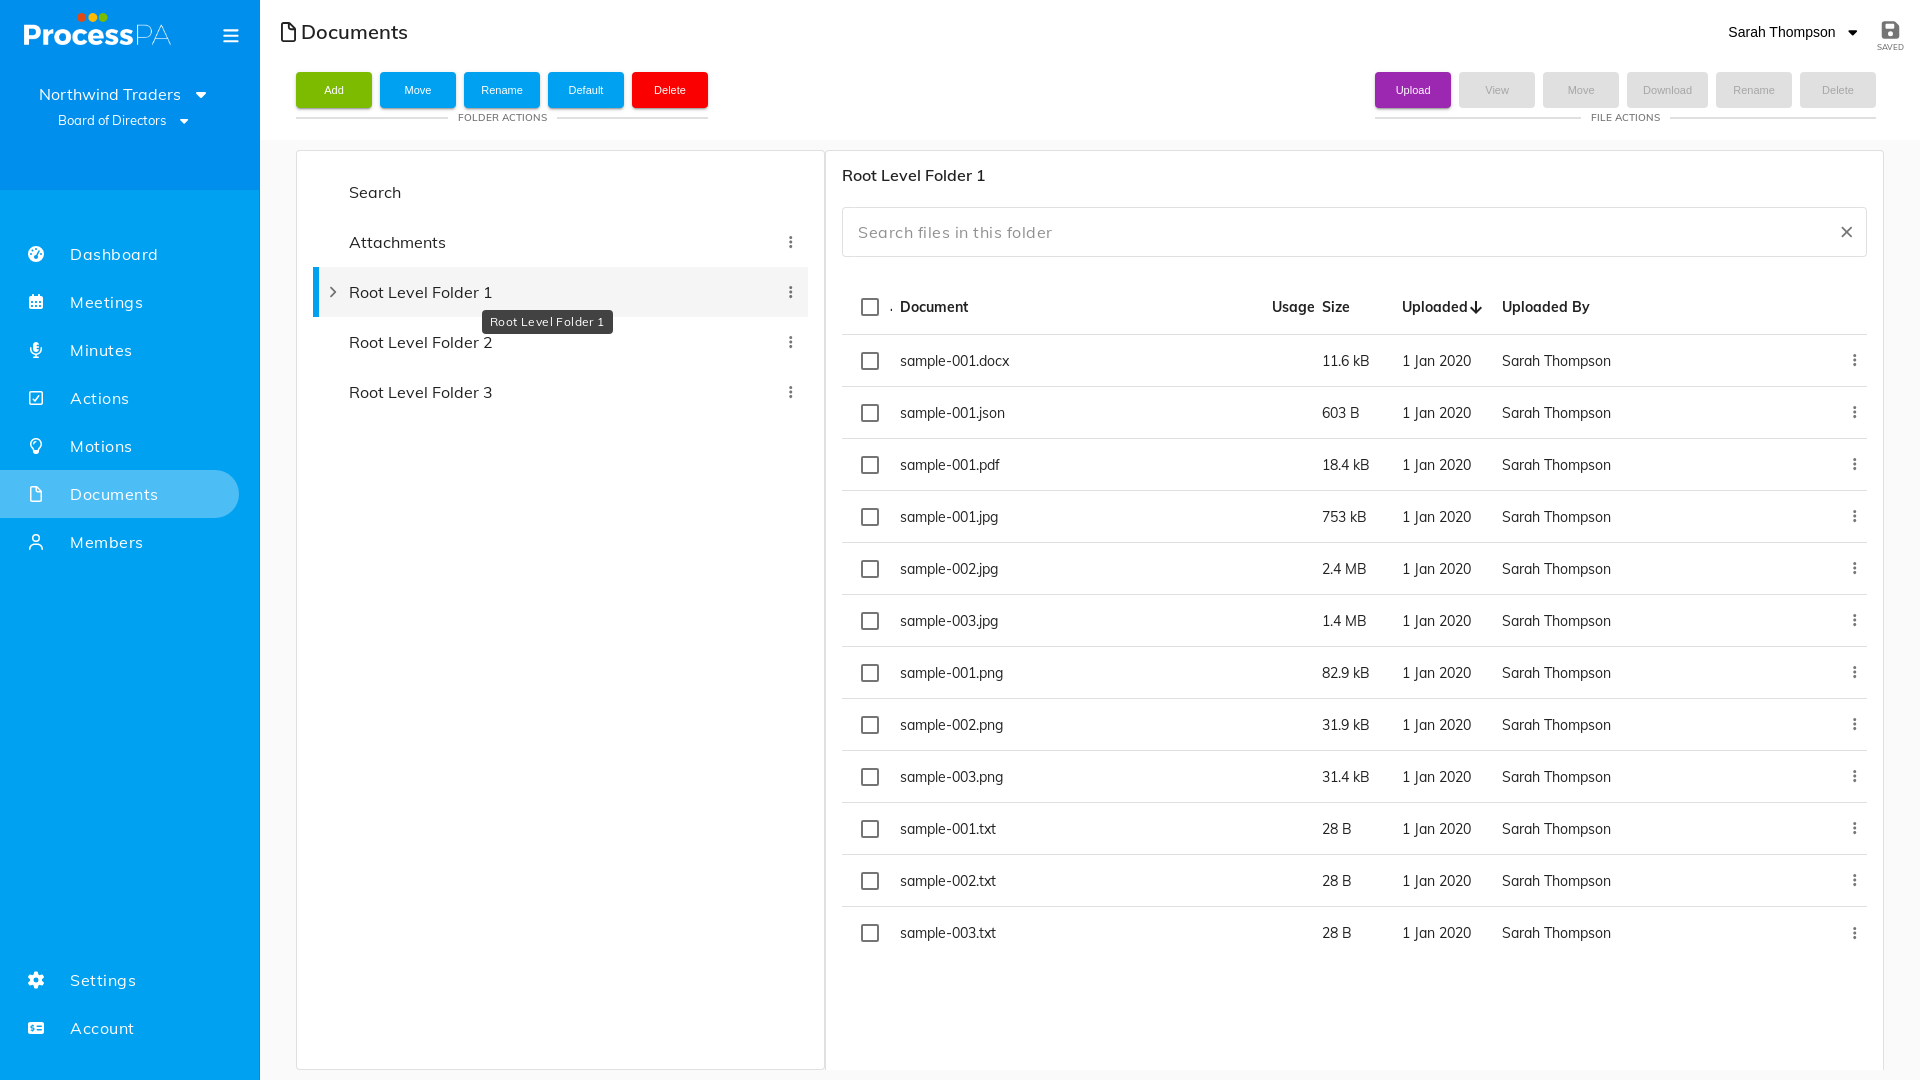
Step 3: Locate and Select the File
- Find the specific file you want to delete in the file list
- Review the file details to ensure you’ve identified the correct file:
- Check the file name and extension
- Verify the file size and date modified
- Confirm it’s the file you intend to remove
- Click on the file to select it (look for highlighting or selection indicators)
Step 4: Initiate the Delete Process
- Look for delete options in your interface:
- Right-click on the file to open the context menu and select “Delete”
- Use a “Delete” button in the toolbar or action panel
- Press the Delete key on your keyboard after selecting the file
- Look for a trash can icon or delete symbol
- Choose your preferred deletion method based on available options
Step 5: Confirm the Deletion
- A confirmation dialog will typically appear asking if you’re sure you want to delete the file
- Read the confirmation message carefully - it may indicate whether deletion is permanent or if the file goes to a recycle bin
- Review the file name one final time to ensure it’s correct
- Click “Delete,” “Yes,” or “Confirm” to proceed with the deletion
- Wait for the system to process the deletion request
Step 6: Verify Successful Deletion
- Check the folder contents:
- Confirm the deleted file no longer appears in the folder
- Verify the remaining files are still present and intact
- Look for any success messages confirming the deletion
- Check system trash/recycle bin (if applicable):
- Some systems move deleted files to a trash folder rather than permanent deletion
- Locate your system’s trash or recycle bin to see if the file can be recovered if needed
- Test folder functionality:
- Ensure the folder still functions properly after the deletion
- Verify that deleting the file didn’t affect other files or folder structure
Step 7: Complete the Process
- Once you’ve confirmed the successful deletion, you can continue with other tasks
- Update any documentation that may have referenced the deleted file
- Inform relevant team members if the deleted file was shared or referenced elsewhere
Video
Page Details
Updated on June 09th, 2025