Delete multiple files
Overview
This guide provides you with easy-to-follow steps on how to delete multiple files from a designated folder within your document management system. By following the instructions below, you will be able to manage your documents efficiently while maintaining proper organization.
Before You Start
Critical Safety Reminders:
- Multiple file deletion is permanent - ensure you really want to remove all selected files
- Verify you have appropriate permissions to delete files from the target folder
- Consider creating backups or moving files to an archive folder instead of permanent deletion
-
Step-by-Step Guide
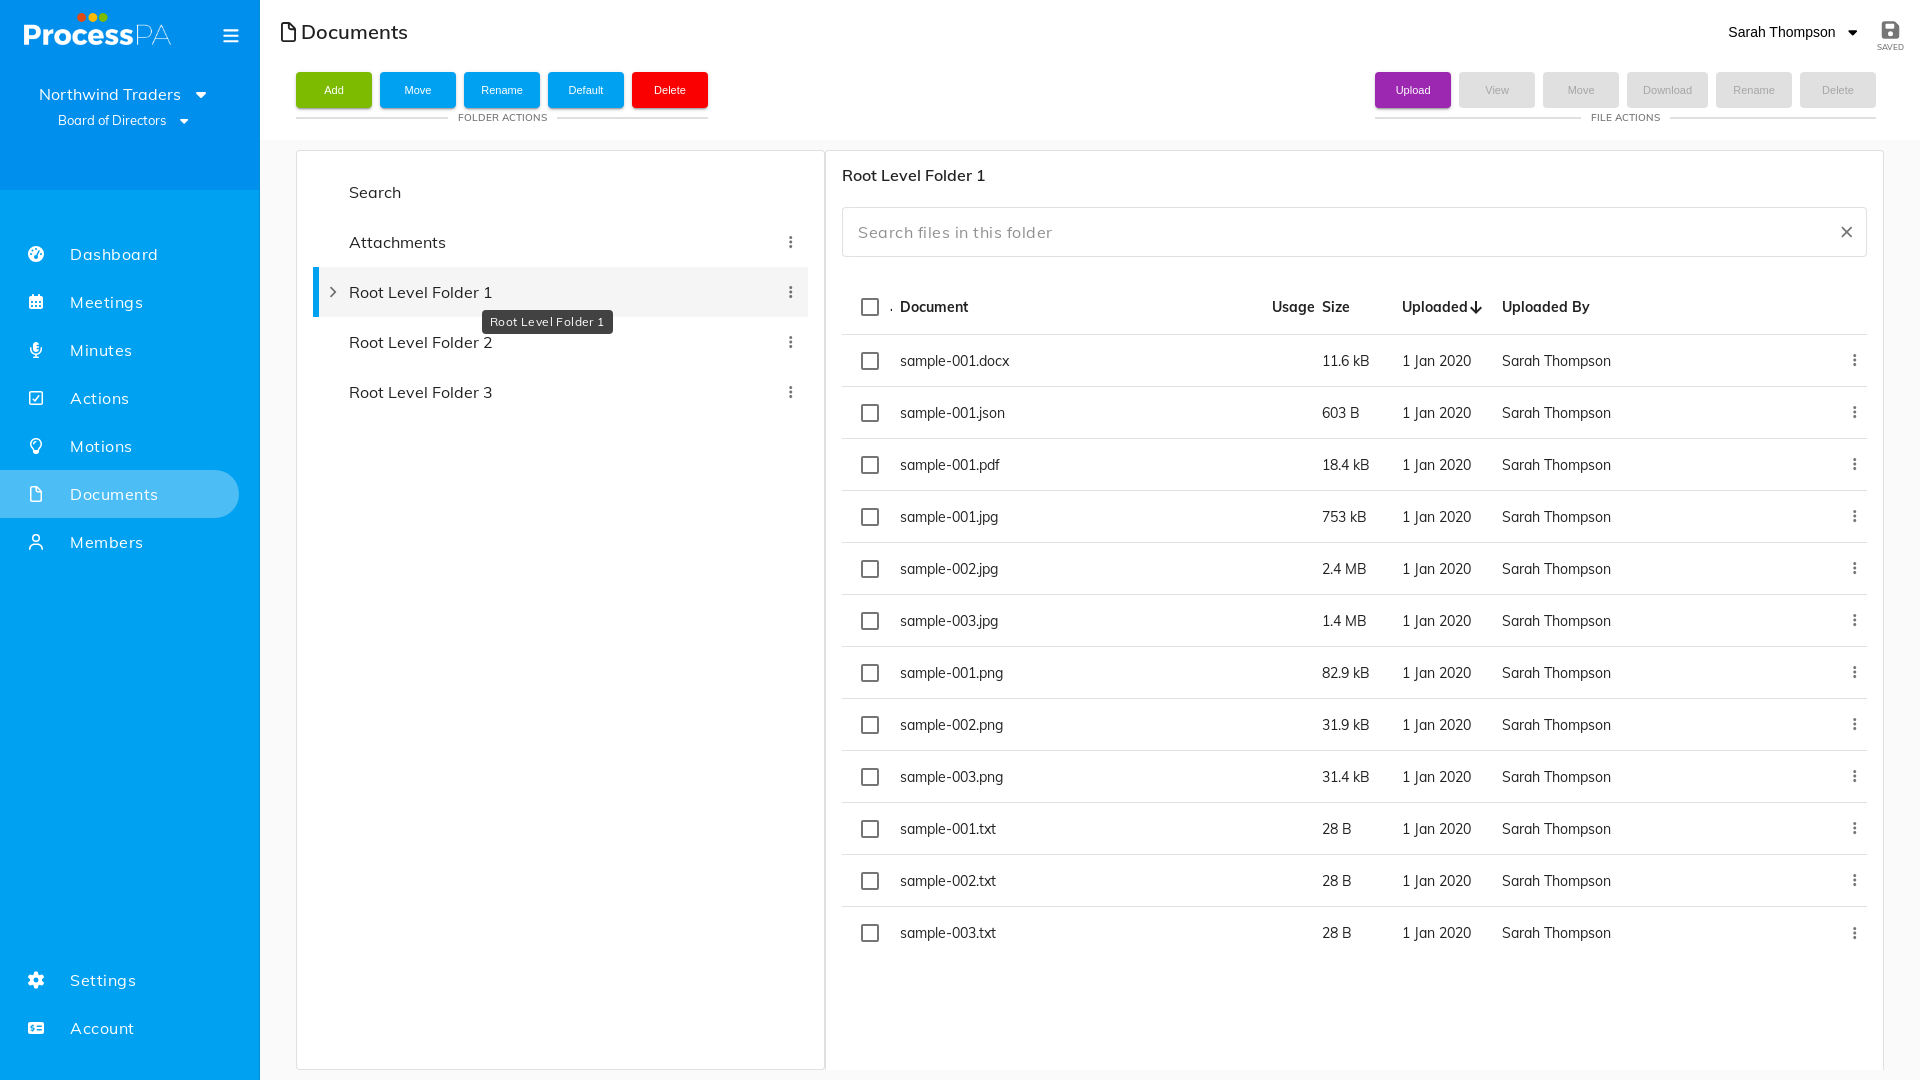
Step 1: Access Your Committee Documents
- Navigate to the Documents Section
- Open your document management system using your committee credentials
- Access the documents page for your active committee
- Wait for the page to load completely and display your folder structure
Step 2: Navigate to the Target Folder
- Locate Your Target Folder
- Browse through your folder structure to find the folder containing files you want to delete
- Click on the target folder to open it and view its contents
- Allow the folder contents to load fully before proceeding with file selection
Step 3: Select Multiple Files for Deletion
- Choose Your Selection Method
- Individual selection: Hold Ctrl (Windows) or Cmd (Mac) while clicking each file you want to delete
- Range selection: Click the first file, then hold Shift and click the last file to select all files in between
- Checkbox selection: Use checkboxes next to each file if available
- Select all: Use “Select All” option if deleting all files in the folder
- Verify Your Selection
- Look for visual indicators (checkmarks, highlighting, or selection counters) to confirm your selections
- Review the list of selected files carefully to ensure you haven’t included files you want to keep
- Take note of file names and count before proceeding
Step 4: Initiate the Delete Process
- Access Delete Options
- Look for delete functionality in your interface:
- A “Delete Selected” or “Delete” button in the toolbar
- Right-click context menu with “Delete” option
- Delete key on your keyboard after selecting files
- Trash can icon or delete symbol in the interface
- Look for delete functionality in your interface:
- Choose Your Deletion Method
- Select your preferred method based on your system’s available features
- Some systems may offer bulk delete options specifically for multiple files
Step 5: Confirm Multiple File Deletion
- Review the Confirmation Dialog
- A confirmation dialog will appear showing the number of files to be deleted
- Carefully review the list of files that will be deleted
- Check if the deletion is permanent or if files will go to a recycle bin
- Verify the file count matches your intended selection
- Proceed with Caution
- Read any warning messages about permanent deletion
- Ensure you’re absolutely certain about proceeding
- Click “Delete,” “Yes,” or “Confirm” to execute the deletion
- Wait for the system to process all file deletions
Step 6: Verify Successful Deletion
- Check the Folder Contents
- Confirm that all selected files have been removed from the folder
- Verify that only the intended files remain in the folder
- Look for success messages confirming the deletion count
- Validate System Status
- Refresh the folder view to ensure changes are properly reflected
- Check that the folder structure remains intact after deletions
- Verify that remaining files are still accessible and functional
- Check Recovery Options (if available)
- Locate your system’s trash or recycle bin to confirm deleted files are recoverable if needed
- Note any time limits for file recovery in your system
Step 7: Complete the Process
- Final Verification
- Double-check that your folder organization meets your expectations
- Ensure no unintended files were deleted during the process
- Verify that remaining files are properly organized
Video
Page Details
Updated on June 09th, 2025