Rename a file
Overview
This guide will walk you through the steps to rename a file within your document management system. Following these instructions will ensure that your renaming process is straightforward and efficient.
Before You Start
Make sure you have:
- Access to your committee’s document management area
- Permission to edit files in the selected folder
- The new file name decided (following any naming conventions your organization uses)
Step-by-Step Guide
Access Your Documents
- Navigate to the document management area for your active committee
- Enter your committee credentials if prompted
Navigate to Your File
- Browse through your folder structure to locate the file you want to rename
- Click on the folder containing your target file to open it
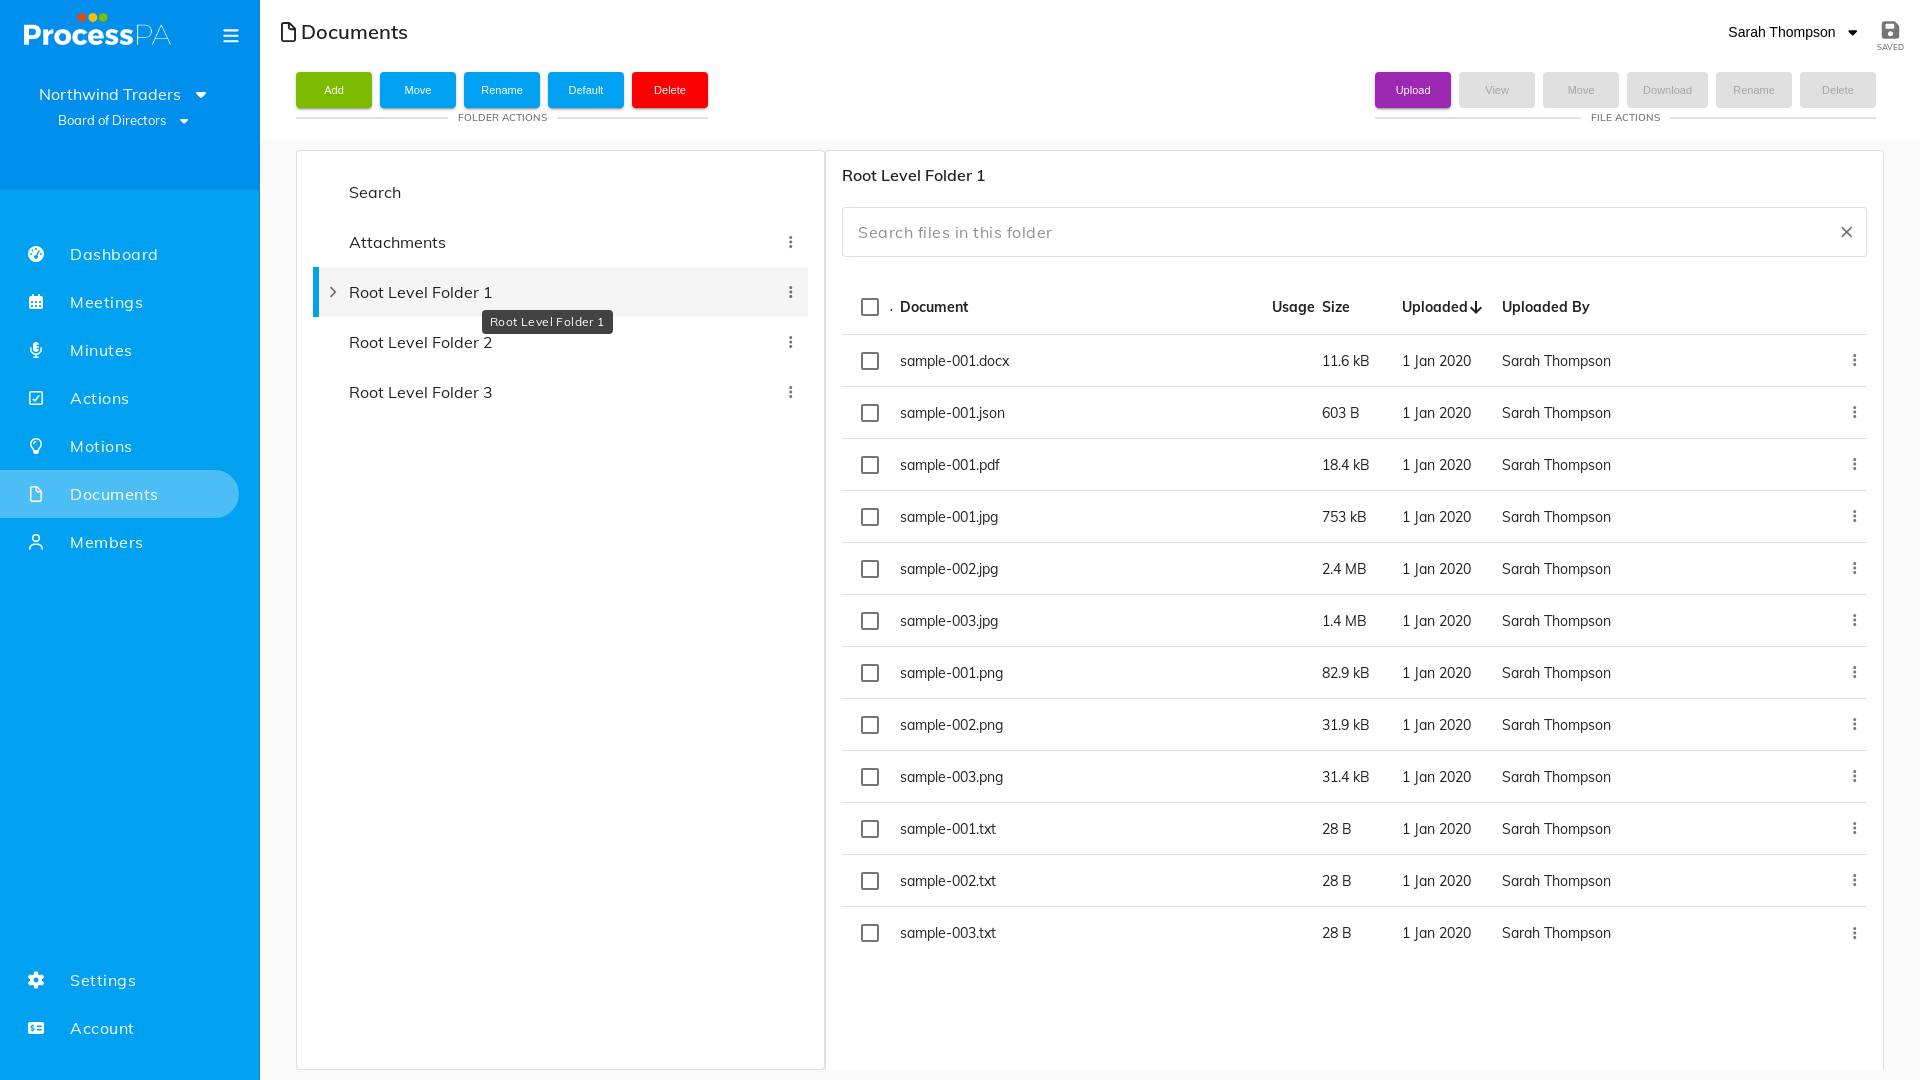
Locate and Select the File
- Find the file you wish to rename in the file list
- Look for rename options by either:
- Right-clicking on the file to open the context menu
- Clicking on the file and looking for an “Edit” or “Rename” button
- Hovering over the file to reveal action icons
Rename the File
- Click on the “Rename” option or edit icon
- Clear the current file name or select all text
- Type your new file name (for example: “quarterly-report-2025.pdf”)
- Ensure you keep the original file extension (like .pdf, .docx, .txt) unless specifically changing file types
- Click “Save,” “Confirm,” or press Enter to apply the change
Verify the Name Change
- Check that the file now appears with your new name in the file list
- Look for any confirmation messages indicating successful rename
- Ensure the file is still accessible and hasn’t been corrupted during the rename process
Complete the Process
- Once you’ve confirmed the rename was successful, you can continue working or close the document management area
- Consider updating any links or references to the old file name if they exist elsewhere
Best Practices for File Naming
- Use descriptive names: Choose names that clearly indicate the file’s content or purpose
- Avoid special characters: Stick to letters, numbers, hyphens, and underscores
- Include dates when relevant: Use formats like “2025-06-09” for consistency
- Keep it concise: Aim for clear but not overly long file names
- Follow organizational standards: Check if your organization has specific naming conventions
Troubleshooting
If you encounter issues while renaming:
- Permission denied: Contact your administrator to verify you have edit permissions
- Invalid characters: Remove any special characters that aren’t allowed
- Name already exists: Choose a different name or add a version number
- Changes not saving: Refresh the page and try again, or check your internet connection
Important Notes
- File extensions: Be careful not to accidentally change the file extension unless you intend to convert the file type
- Linked files: Remember that changing a file name may break links to that file in other documents or systems
- Version control: Consider including version numbers in file names for better document management
- Backup: For critical files, consider creating a backup before renaming in case you need to revert changes
Video
Page Details
Updated on June 09th, 2025