Getting Started
This guide will help you get going quickly. It will take less than 10 minutes setting you up, to save hours and will guide you through step by step:
- Registering an account
- Creating your association
- Scheduling your next meeting
- Adding Members
- Notifying Members
Free concierge service
Or alternatively, book a free concierge service. We will enter your members, minutes from your last meeting, set agenda templates and your letterhead. Your next meeting will be scheduled and ready to go for a productive meeting and instant minutes. (Concierge service is also availble with our 30 Day Free Trial)
Book NowRegistering an account
-
Go to Register a new user
-
Fill in your Name, Email, Phone, Password (must be 8 characters long, at least one digit and one uppercase), read and accept the Terms & Conditions and I’m not a robot Captchca and press Register.
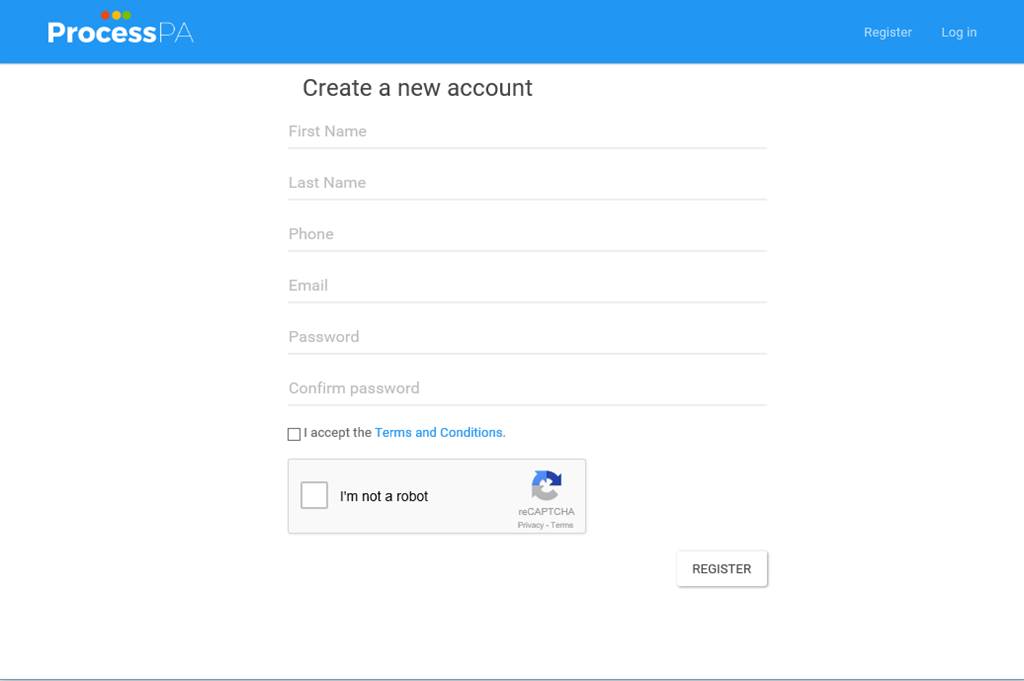

Your account is now created and you will be logged in viewing organizations you are a member of. If you are not a member of any you can create a new organization. You will receive an email to verify your account.
Creating your Organization
-
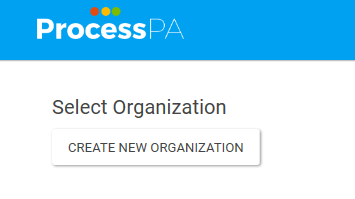
Click Create New Organization
-
Enter the Name of your Organization, Select the Time Zone, Language (determines date formats), Organization type (Set default agendas and roles) and click Create.
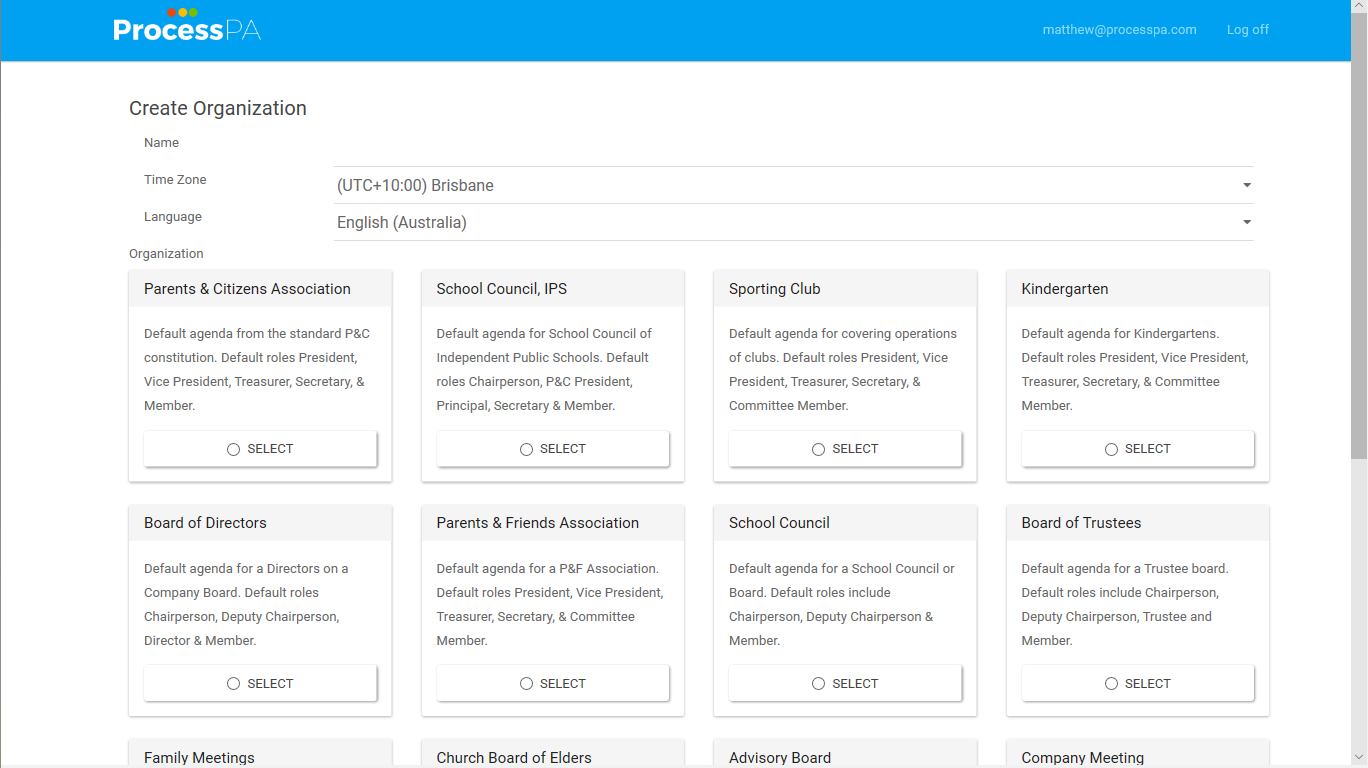
You now have an association created ready for scheduling meetings, members and documents.
Scheduling your next meeting
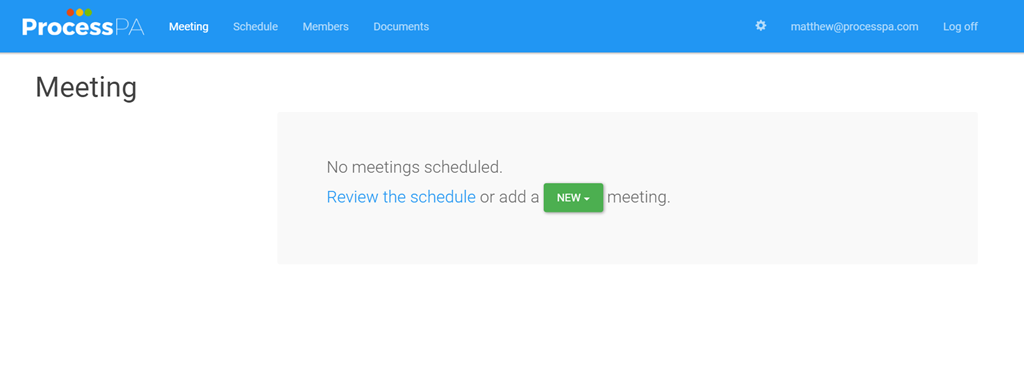
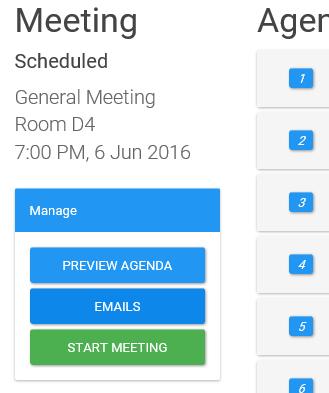
After creating your new association you will be logged in and viewing the Meeting page. If you have logged into an existing association with meetings scheduled you will be on the Meeting page showing the agenda for the next meeting.
-
From the Meeting page, click New and select the meeting type, usually General. This is the same process as on the Schedule page.
-
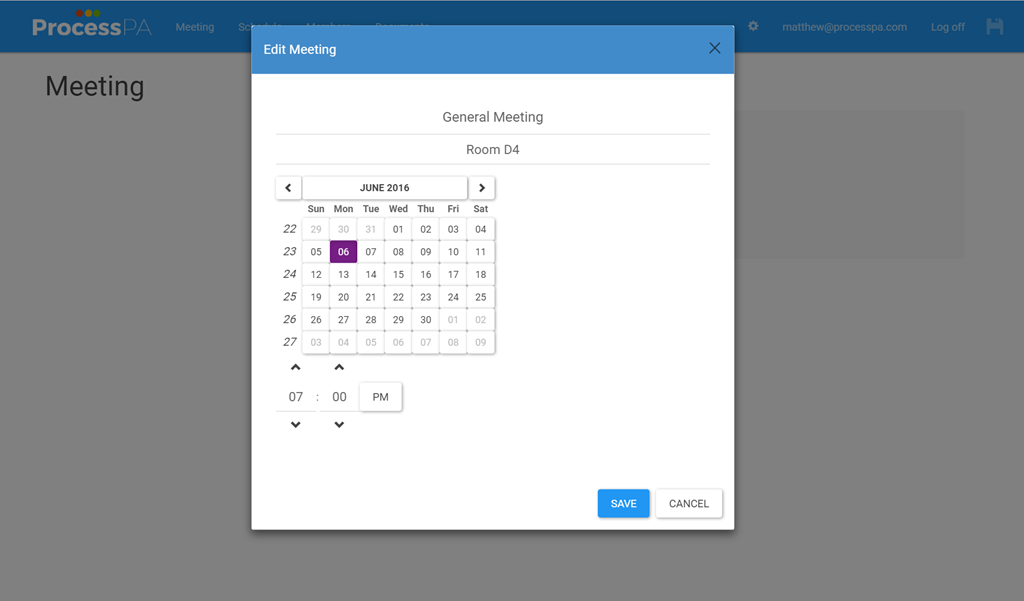
Adjust the meeting name if required, enter the location, select the date and time and click Save.
-
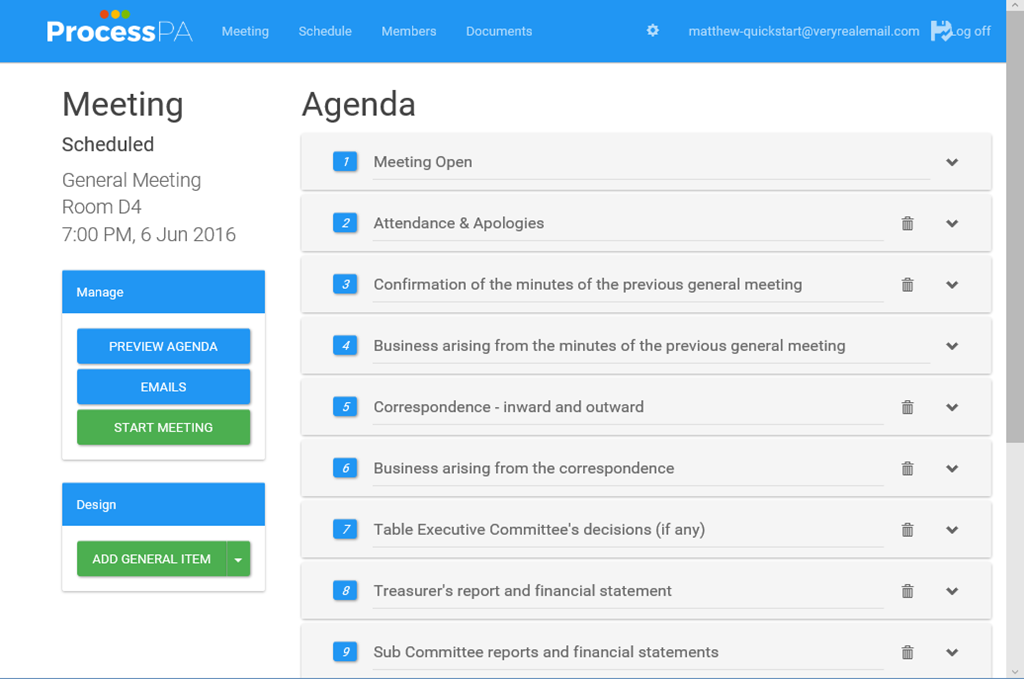
The Meeting Agenda will be displayed ready for editing


Adding Members
Before distributing the Agenda to members, you must update your Members Register. Click on the Members option in the top row.

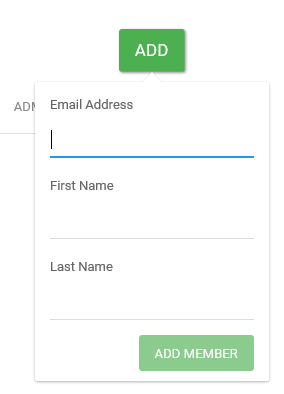
- Click the Add button
-
Enter the Email Address, First and Last Name and Click Add.
-
Adjust the Role for the newly added member and the permissions for that member.

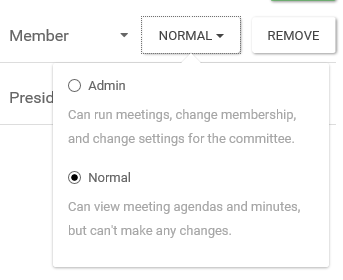


The newly added members can log into the association, after registering an account with email address in the members register.
Notifying Members
Now that there is a meeting scheduled and members added send emails to members.
-
Go to the Meeting page
-
Select Emails
-
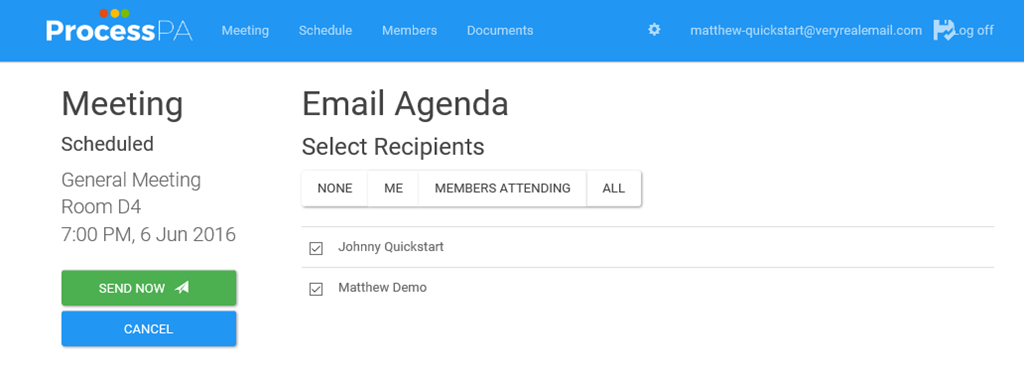
You can Request Attendance, which gives notice of the meeting and the ability for members to respond if they are attending. Or Send Agenda which includes a PDF Agenda, all attachments and allows members attendance response.

-
After selecting Request Attendance or Send Agenda you can select which members you want to email. Click the Send Now for the emails to be sent.