Running the Meeting
During the meeting, you can capture the minutes live by following these next steps. Alternatively the notes can be input at a later date if access to a computer and Internet within the meeting is unavailable or taking notes by hand is preferred.
TIP: Make the Minutes everyone’s responsibility by displaying Process PA on a screen for all meeting participants to see. It will help keep everyone together on the current Agenda item and collectively be responsible for the minutes and meeting outcomes.
Click on the video to view a meeting from start to finish. For step by step instructions, refer to the images below the video.
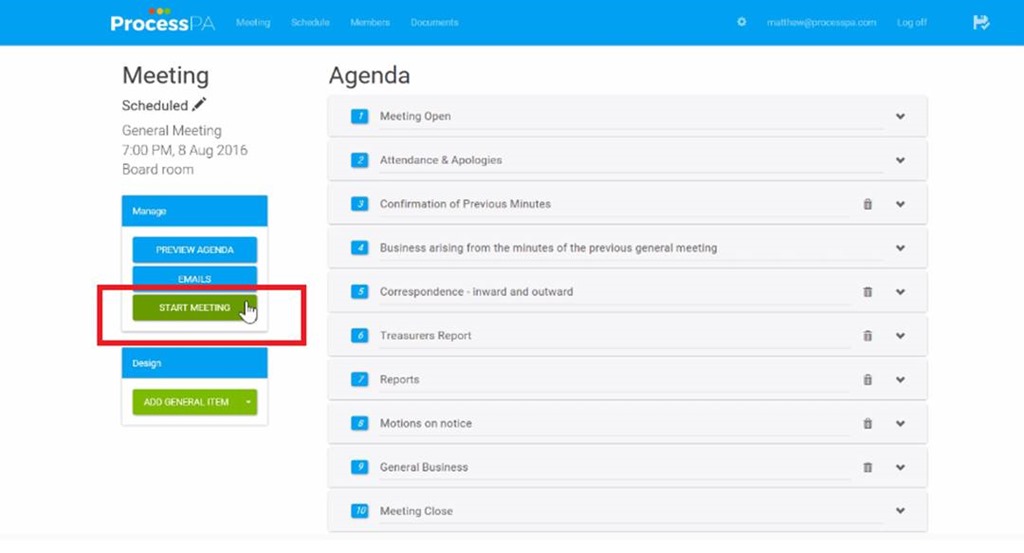
- When it’s time for the meeting to start, simply click on the “START MEETING” action button on the left portion of the page.
- A timer for the whole meeting will start as well as a timer per item in the agenda list. You will be prompted, if necessary, to fill in key information needed in the current agenda item.
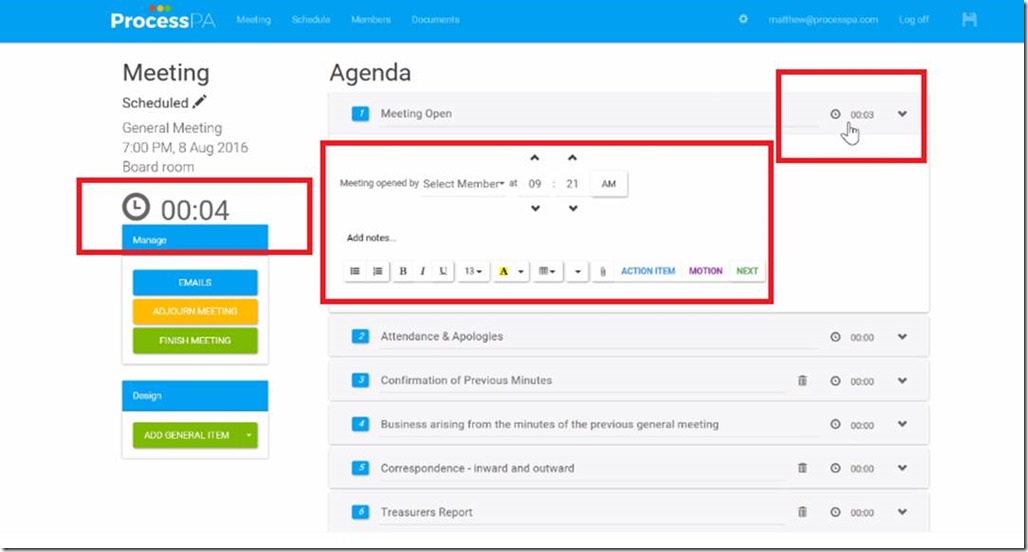
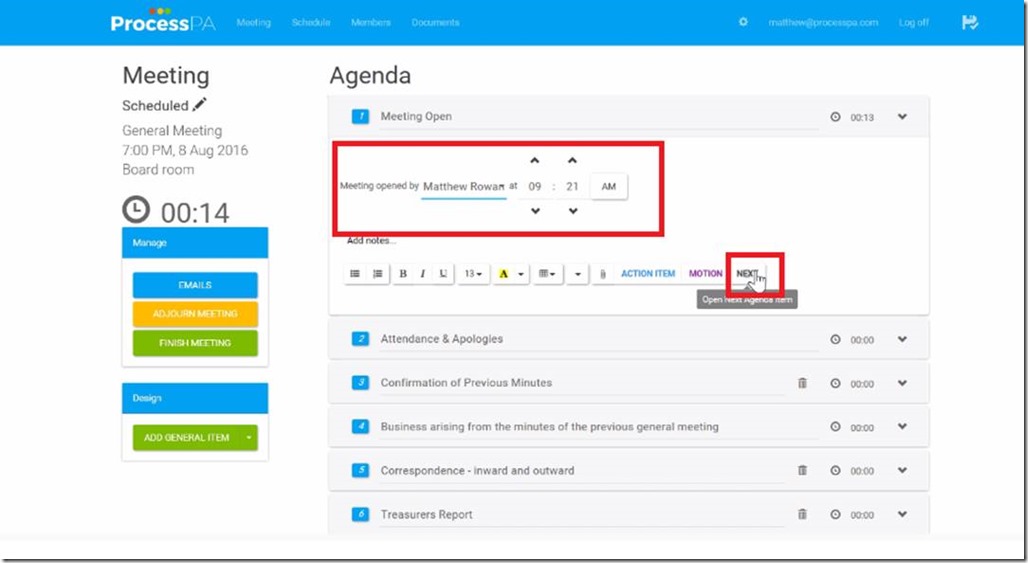
- For the Meeting Open agenda item set the opening member and time opened (which is set by default) and simply click on the “NEXT” button in the bottom right to move to the next item on the agenda.
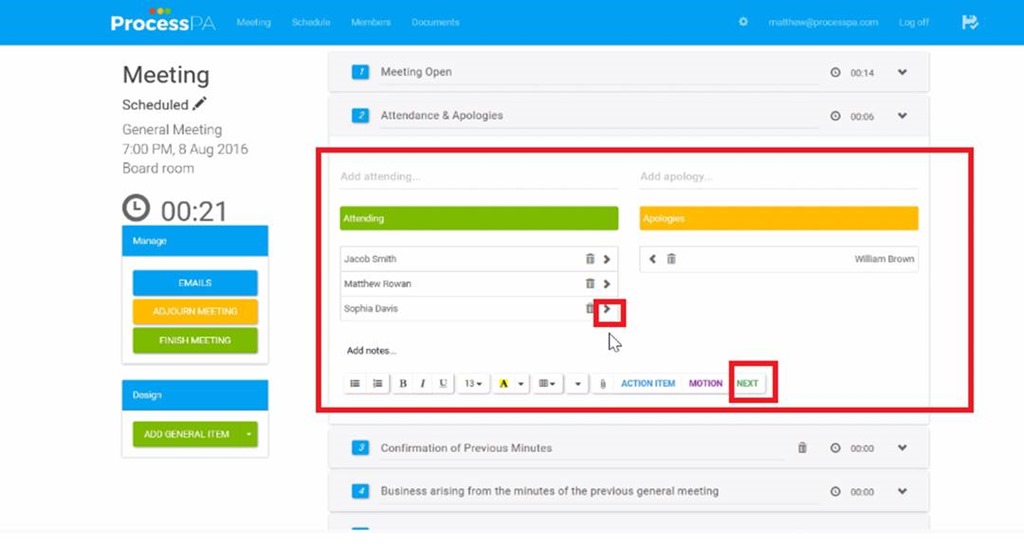
- Attendance will automatically appear next based on the email data sent and returned. Should there be any changes, simply click on the arrow icon located at the end of the name action button of the members of the meeting. If you have attendees who are not members, add them to the Notes section. Once you are done, click on the “NEXT” action button to move to the next agenda item.
- For the Confirmation of Minutes from the Previous Meeting, there is the ability to “PREVIEW” the minutes to be read, and press the “CONFIRM” button to create a motion to approve the minutes.
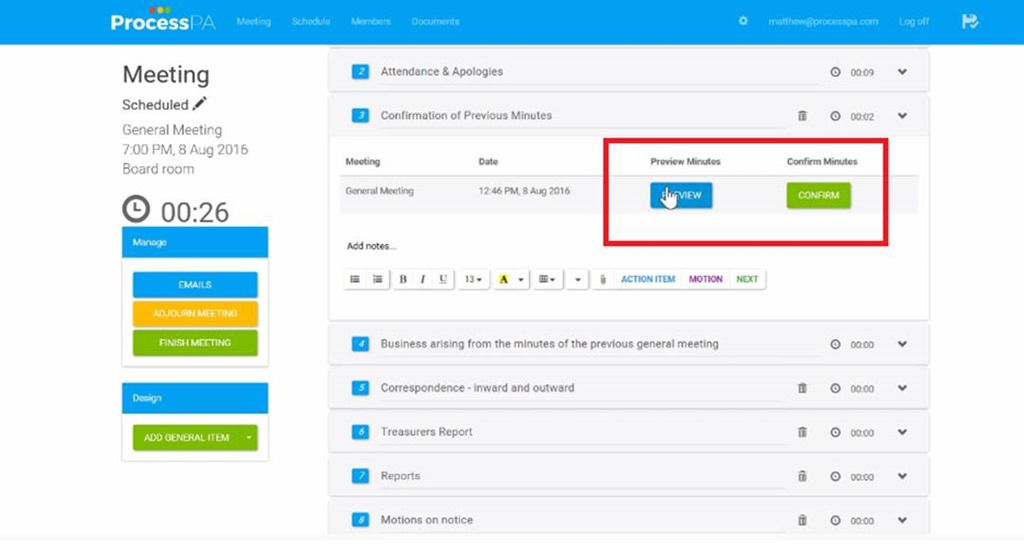 Previous Minutes Preview
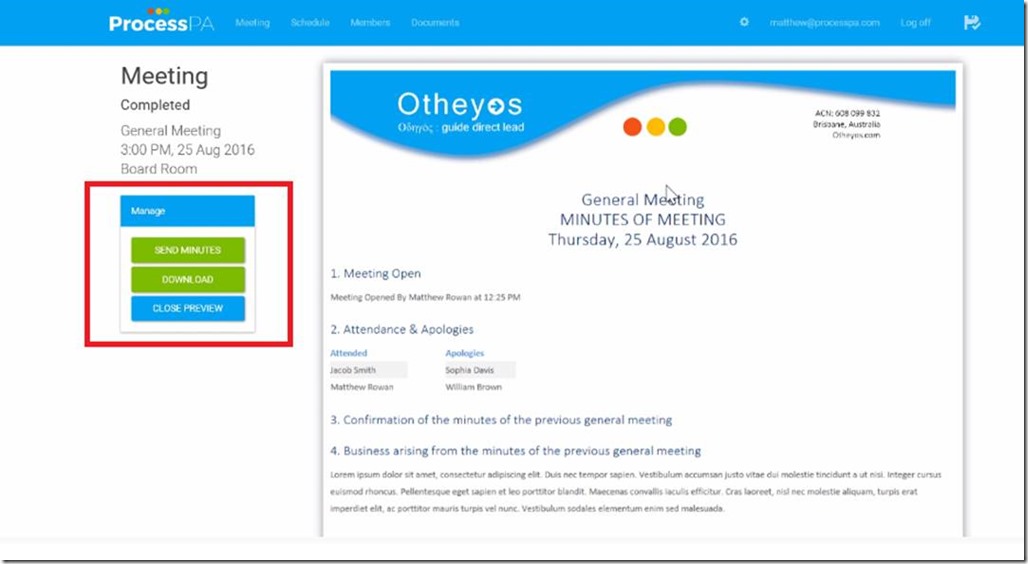
- The “CONFIRM” button will trigger a dialog containing the motion, with the carried selected by default. Click on the “OK” button at the lower right end of the page to confirm that the information stated was correct. You may also fill-in who the proposer of the minute is and who the seconder is as well if required.
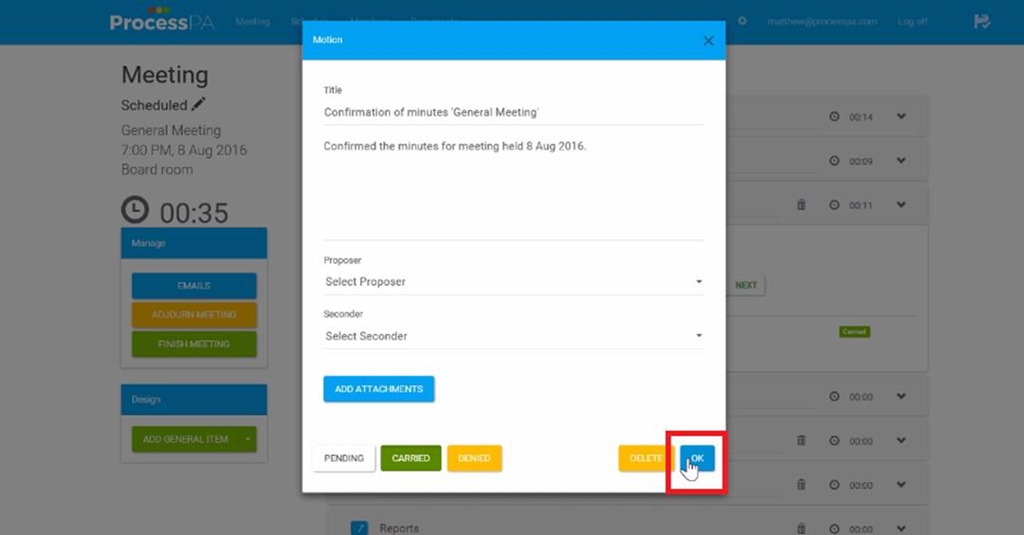
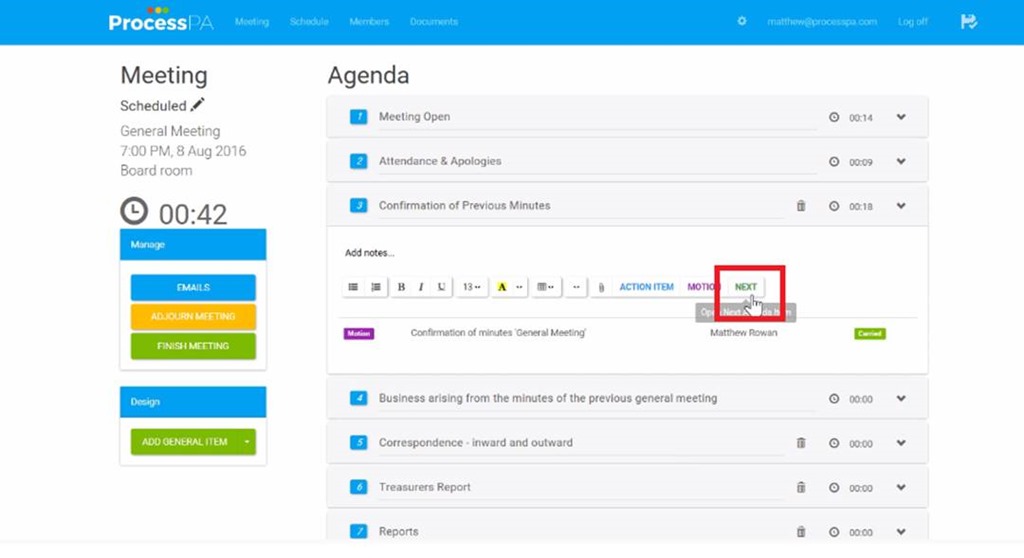
- Click “NEXT” to move to the next agenda item.
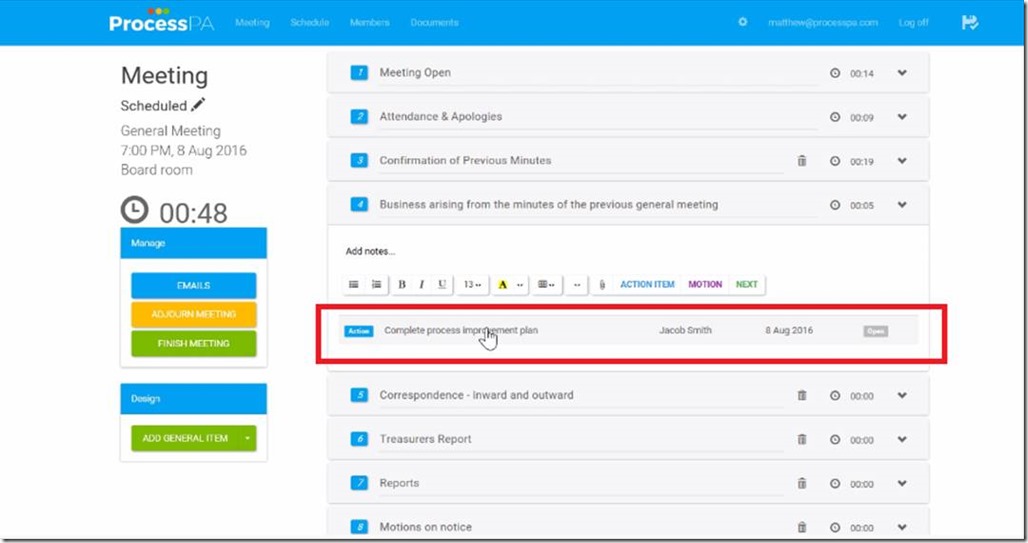
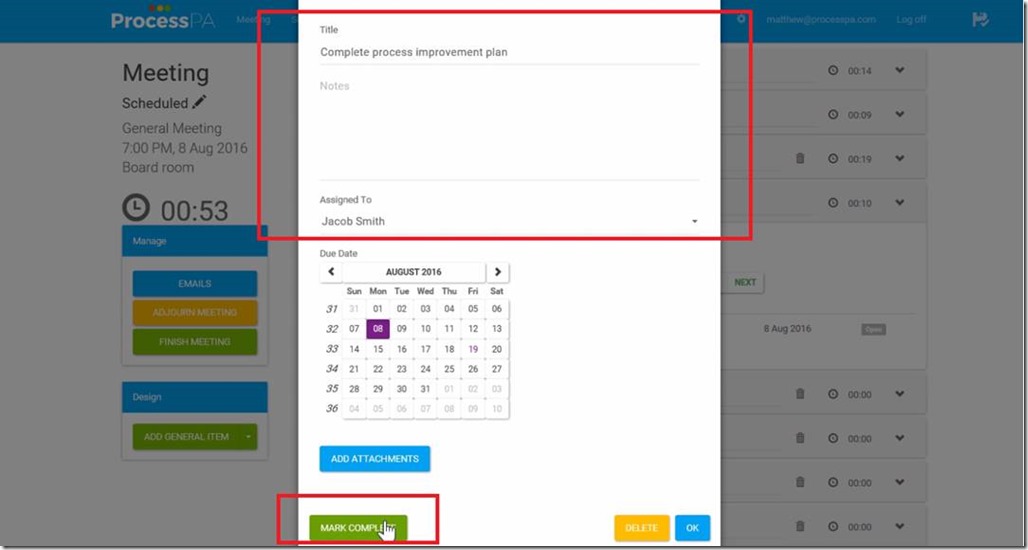
- The “Business arising from the minutes of the previous general meeting” automatically shows pending action items or outstanding motions from previous recorded meetings. Click each row to bring up details and mark complete or add comments as required.
- Type in notes as required in each agenda item these will form your minutes on completion of the meeting. Click on “NEXT” once you are finished to move to the next agenda item.

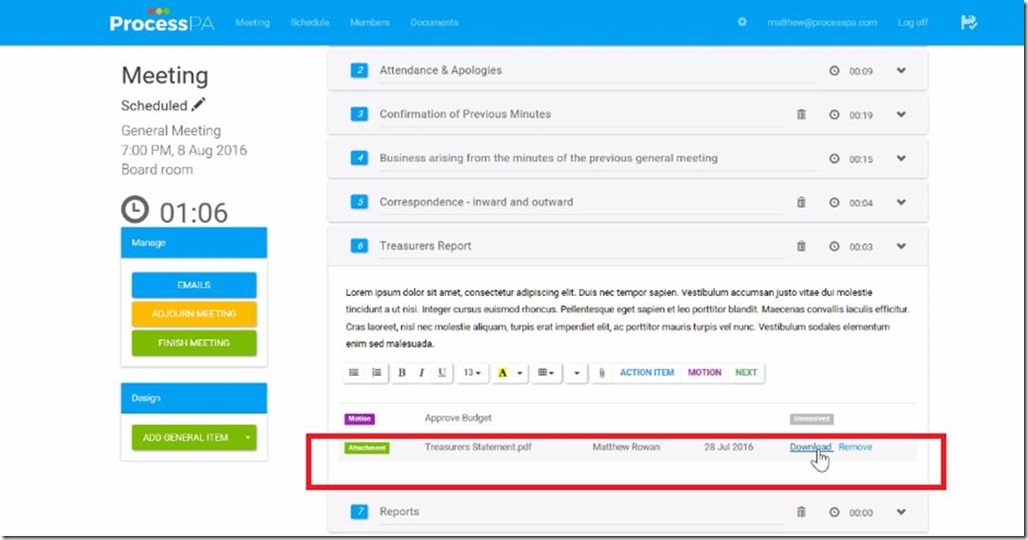
- Attachments for each agenda item are shown and able to be downloaded to be displayed in the meeting. This prevents the need to have the same computer for setting the agenda and running the meeting.
- Create or view motions related to the agenda item. If a motion has been created before the meeting, simply click the motion row to bring up the details.
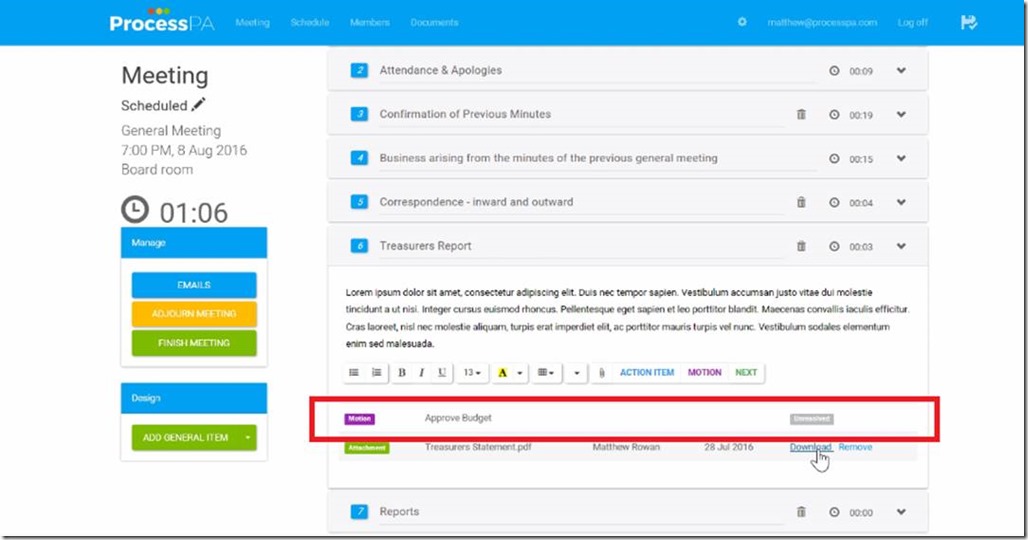 A Dialog will appear for the motion. Here you can add notes & attachments, set proposers and seconders, carry or deny them.
- You can add action items related to the action item, if there are any, just click on the “ACTION ITEM” button located at each agenda item.
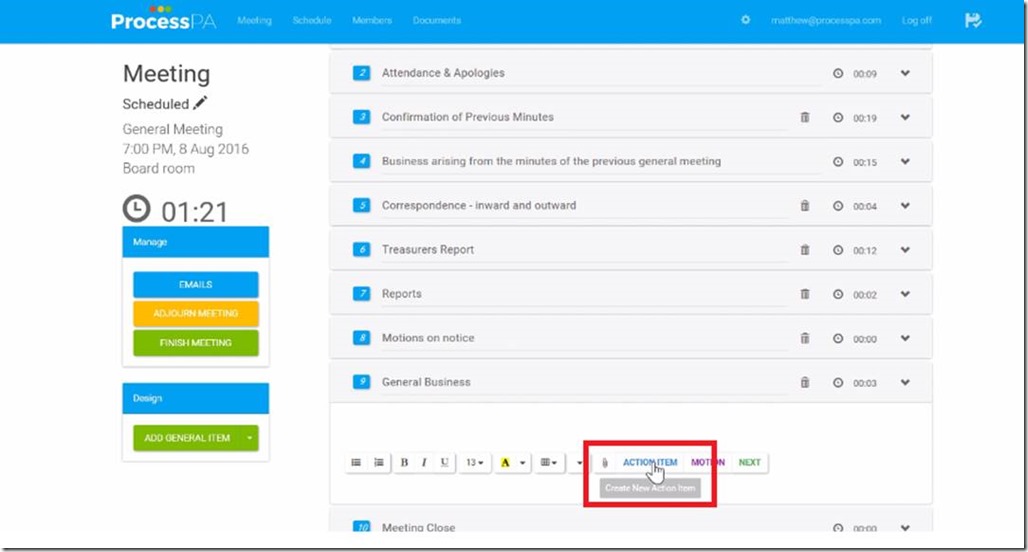
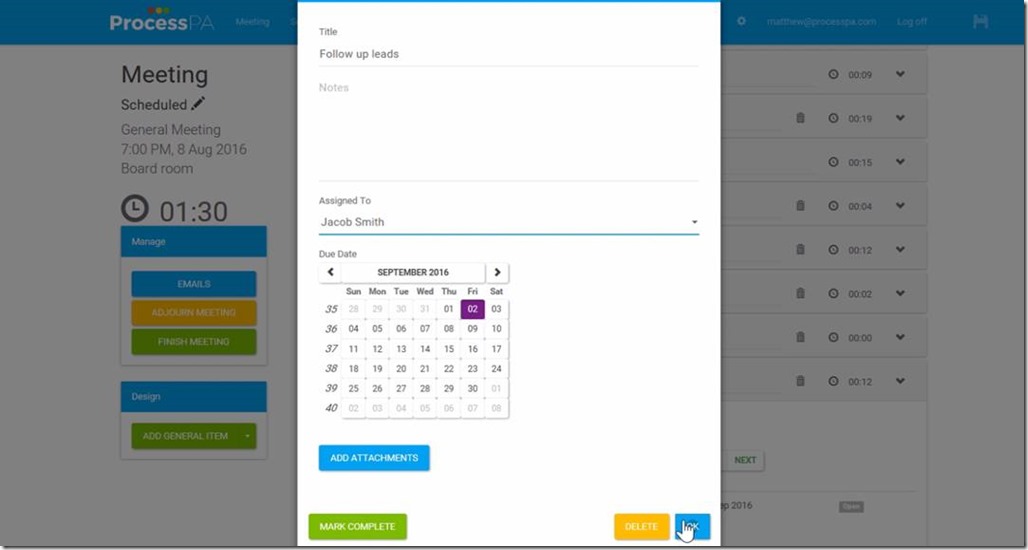
- Once you click on the “ACTION ITEM” action button, a dialog will appear. Here you can add details of the action item like its title, assignee and deadline.
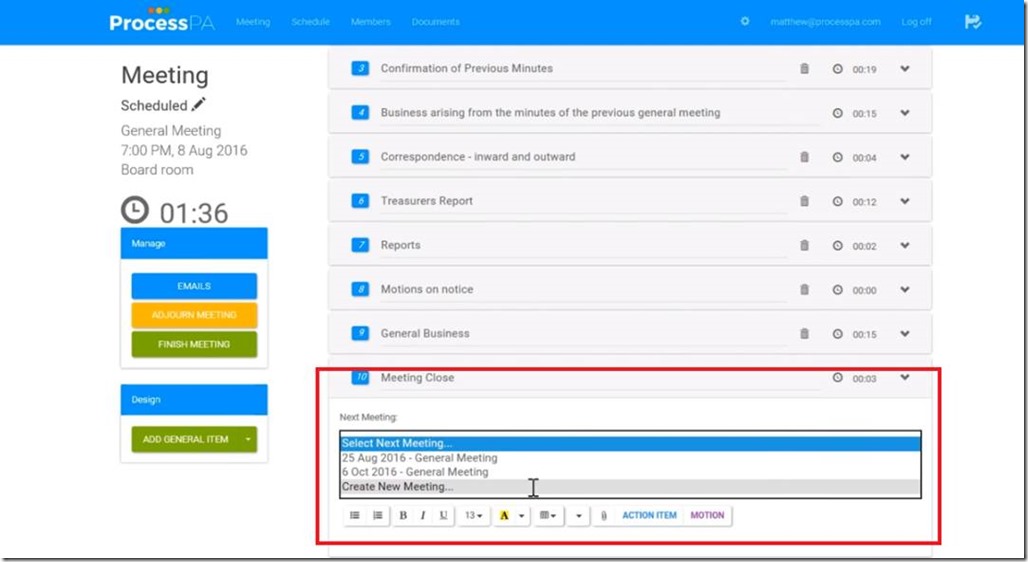
- The last agenda item is the meeting close where you must schedule the next meeting. This is so all unresolved business, motions and actions items are carried over to the correct meeting. Click on the “NEXT MEETING” portion under the “MEETING CLOSE” agenda item. A drop down list will appear and you can either select an already scheduled meeting or create a new one.
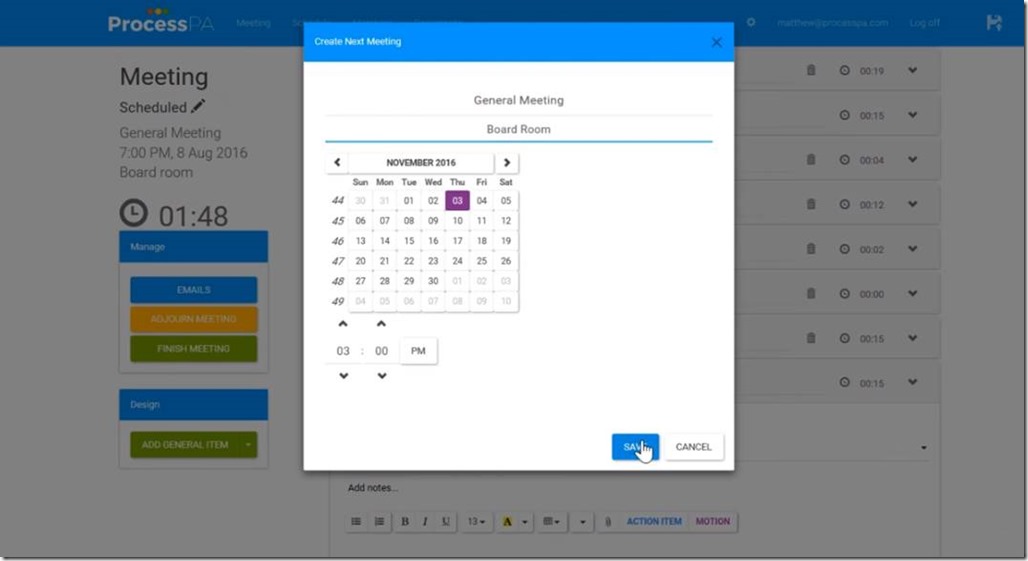
- If you choose to create a new meeting, a dialog will appear. Just fill in the meeting title, date, venue and time and click the “SAVE” button.
- To formally close the meeting click on the “CLOSE MEETING” button located at the left portion of the page.
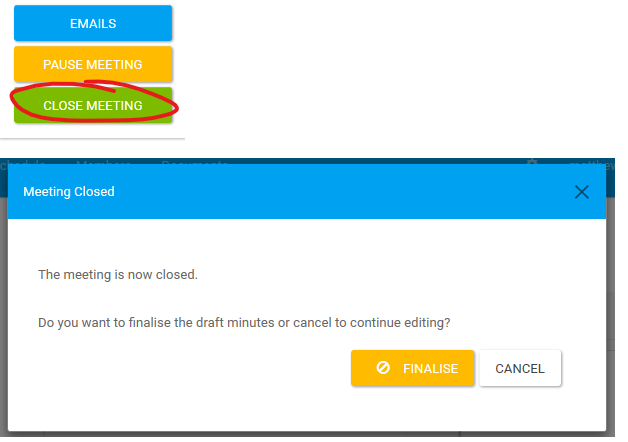
- After clicking the “CLOSE MEETING” button a dialog will appear. You have the option to either finalise the draft minutes or cancel, to continue editing. This adds a break for you to review your minutes, edit notes, add actions or motions and set the next meeting date. Once you are happy your draft is correct, you then press the “FINALISE” Minutes button.

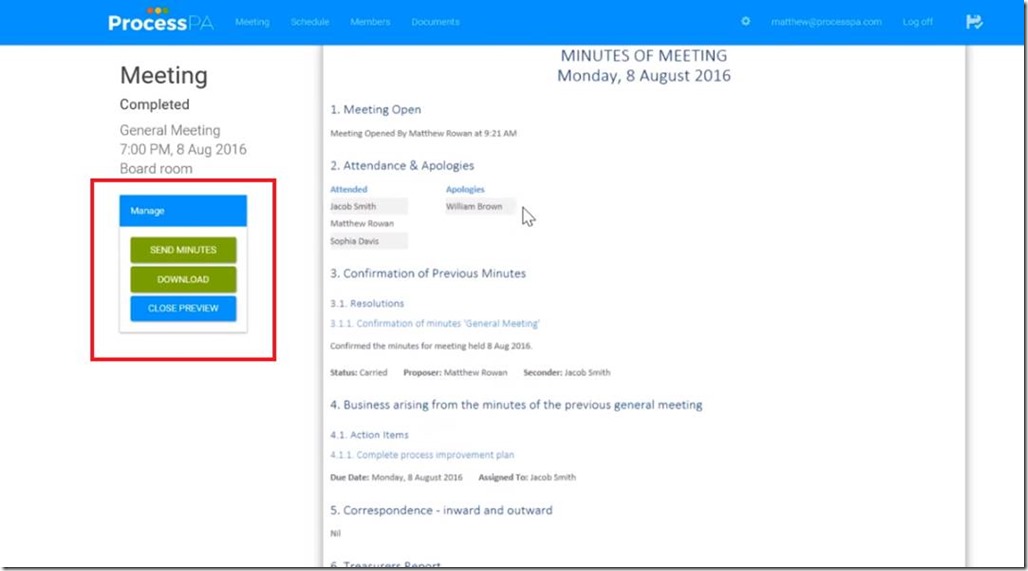
- If you choose to preview the meeting, you can either save the file in PDF format by clicking the “DOWNLOAD” button or send the file out after by clicking the “SEND MINUTES” button located at the left portion of the page.
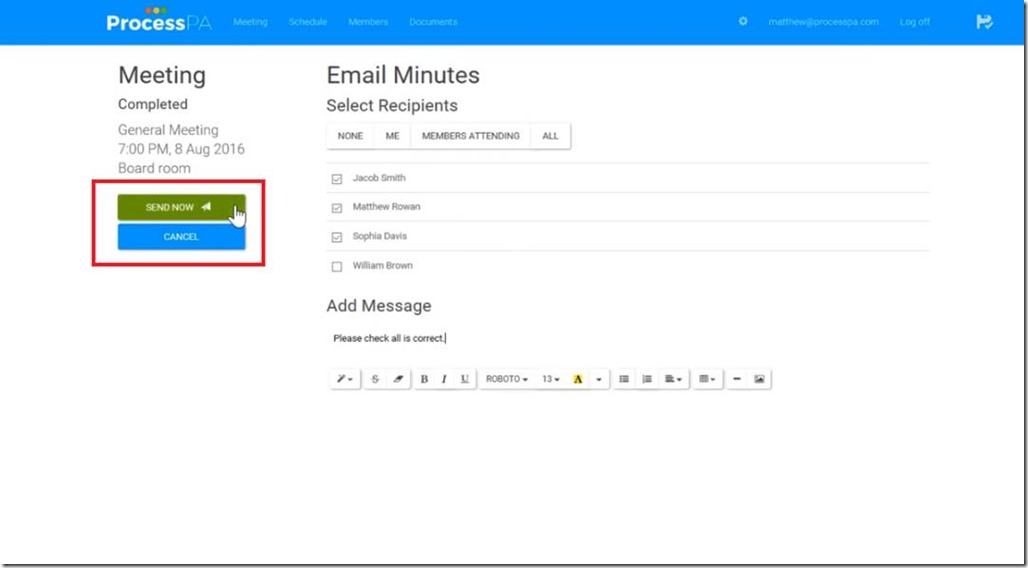
- Before sending the minutes of the meeting file, you may edit the recipients list or add a message. Then click the “SEND NOW” button.
- Action items discussed and noted during the meeting are also sent out to assigned members to ensure that members are reminded of these items and are prepared to report the status of each respectively on the next meeting.
