set a default folder
Overview
This guide shows you how to set a specific folder as your default option using the right-click menu in your document management system. Your default folder is the one that will appear first and be automatically selected when you access your documents, making it easier to find and organize your most important files.
Why Set a Default Folder?
Having a default folder saves you time by automatically directing you to your most frequently used location. Instead of searching through multiple folders each time, your system will open directly to the folder you use most often.
Step-by-Step Instructions
Getting Started
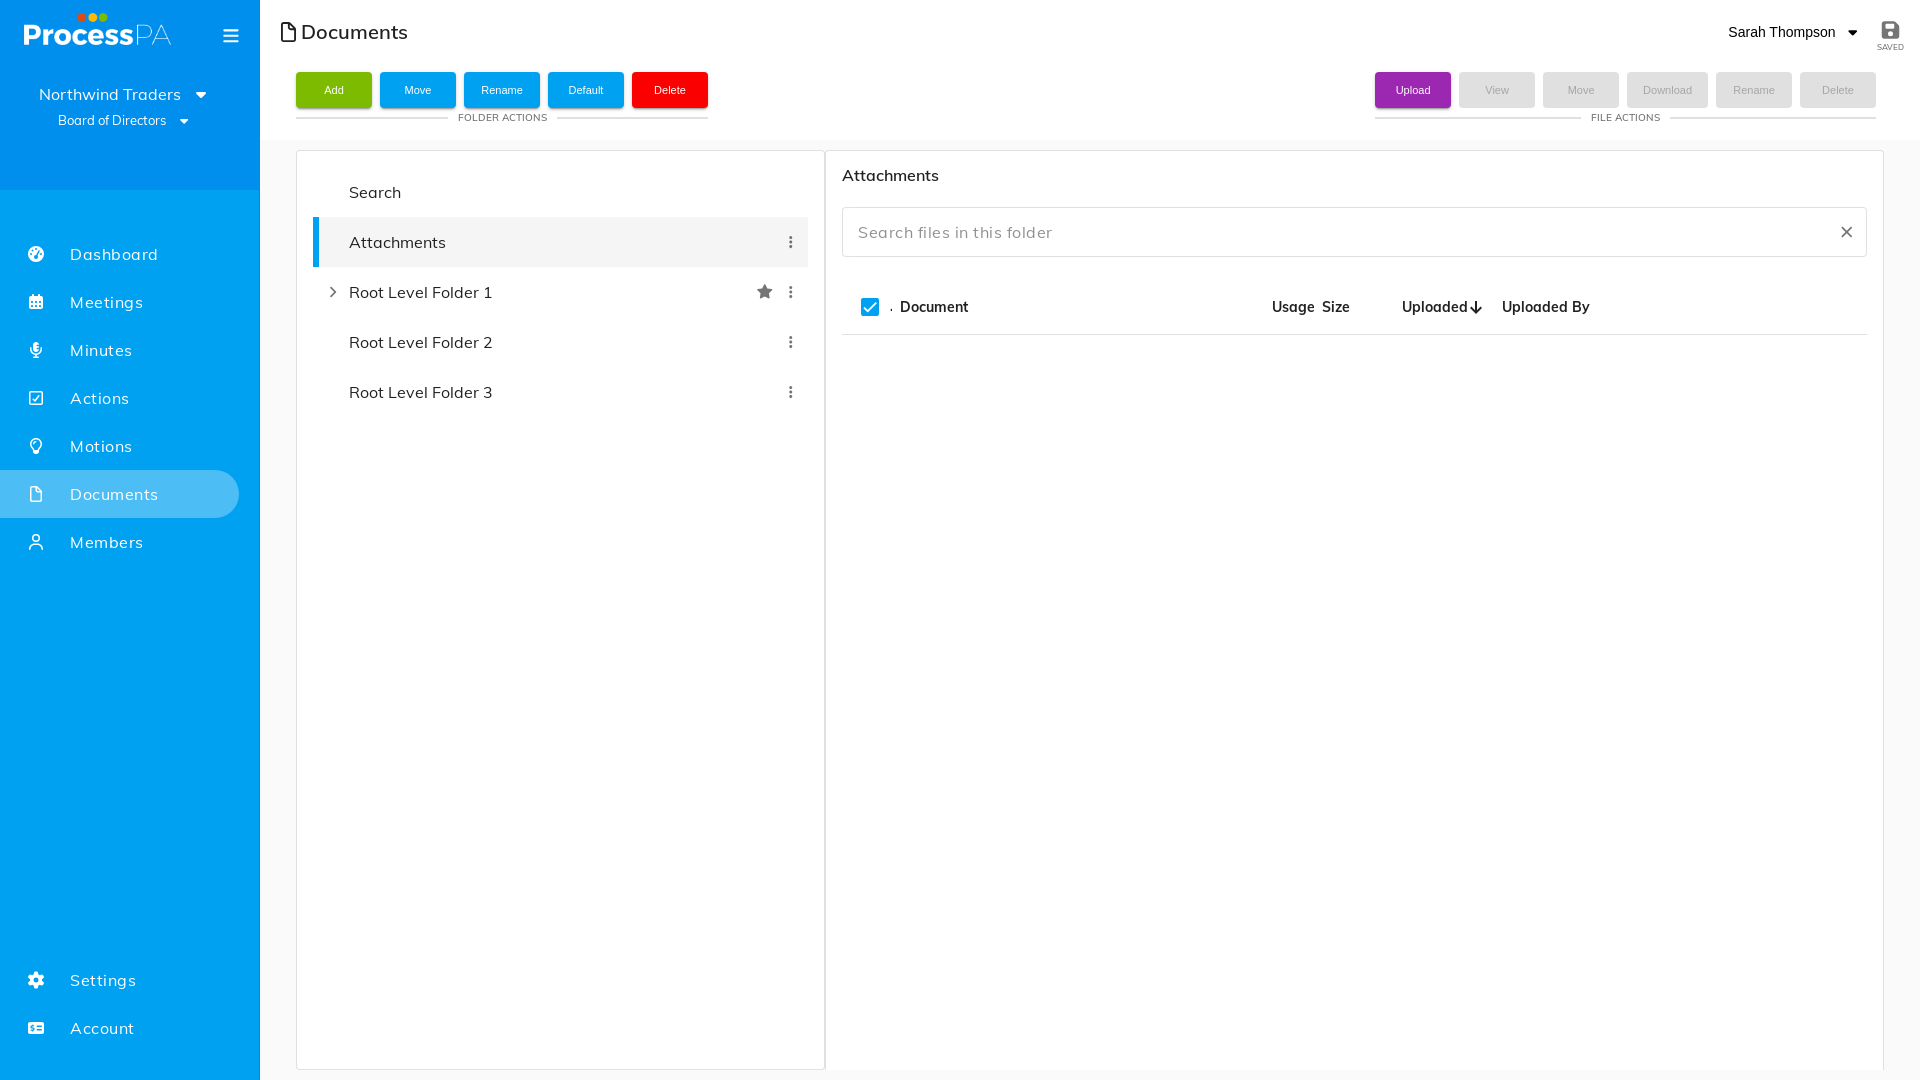
First, make sure you’re logged into your document management system and can see your main documents page.
Finding Your Folder Options
- Once your new folder appears in the folder list, locate it in the left sidebar of the documents page
- Right-click on the folder name to open the context menu
- You should see several choices appear in a small pop-up menu
Making It Your Default
- From the right-click context menu, look for an option called “Default” or click the “Default” button in the toolbar
- Click on this option to designate this folder as your default location
Checking Your Settings
After selecting the default option, you should notice a visual indicator next to your folder name. This will a be a star symbol next to the folder
This visual marker confirms that your folder is now set as the default and will be the first location shown when you access your documents.
What Happens Next?
Once you’ve completed these steps, your chosen folder will automatically be selected or highlighted whenever you open your document management system. This means faster access to your most important files and a more streamlined workflow for your daily document tasks.
Video
Page Details
Updated on June 09th, 2025